
DIY Garage Carpet Installation: Tips and Tricks for Auckland Homeowners


Why Choose Carpet for Your Garage?
Transforming your garage into a more inviting and functional space can be as simple as installing carpet. Whether you’re looking to create a home gym, an office, or just need a cozy area for storage, carpet provides insulation, comfort, and aesthetic appeal. For Auckland homeowners, this DIY project is a cost-effective way to enhance your garage's usability while adding a touch of style.

Preparing Your Garage for Carpet Installation
Before you dive into the installation process, it’s essential to prepare your garage floor. Start by clearing out the space and thoroughly cleaning the floor surface. Remove any debris, dust, or oil stains that might interfere with the carpet's adhesion. Inspect the floor for cracks or uneven surfaces and repair them to ensure a smooth installation.
Once the floor is clean and dry, consider applying a moisture barrier. This step is particularly important in Auckland, where humidity can be an issue. A moisture barrier will help protect your carpet from potential mold and mildew growth.
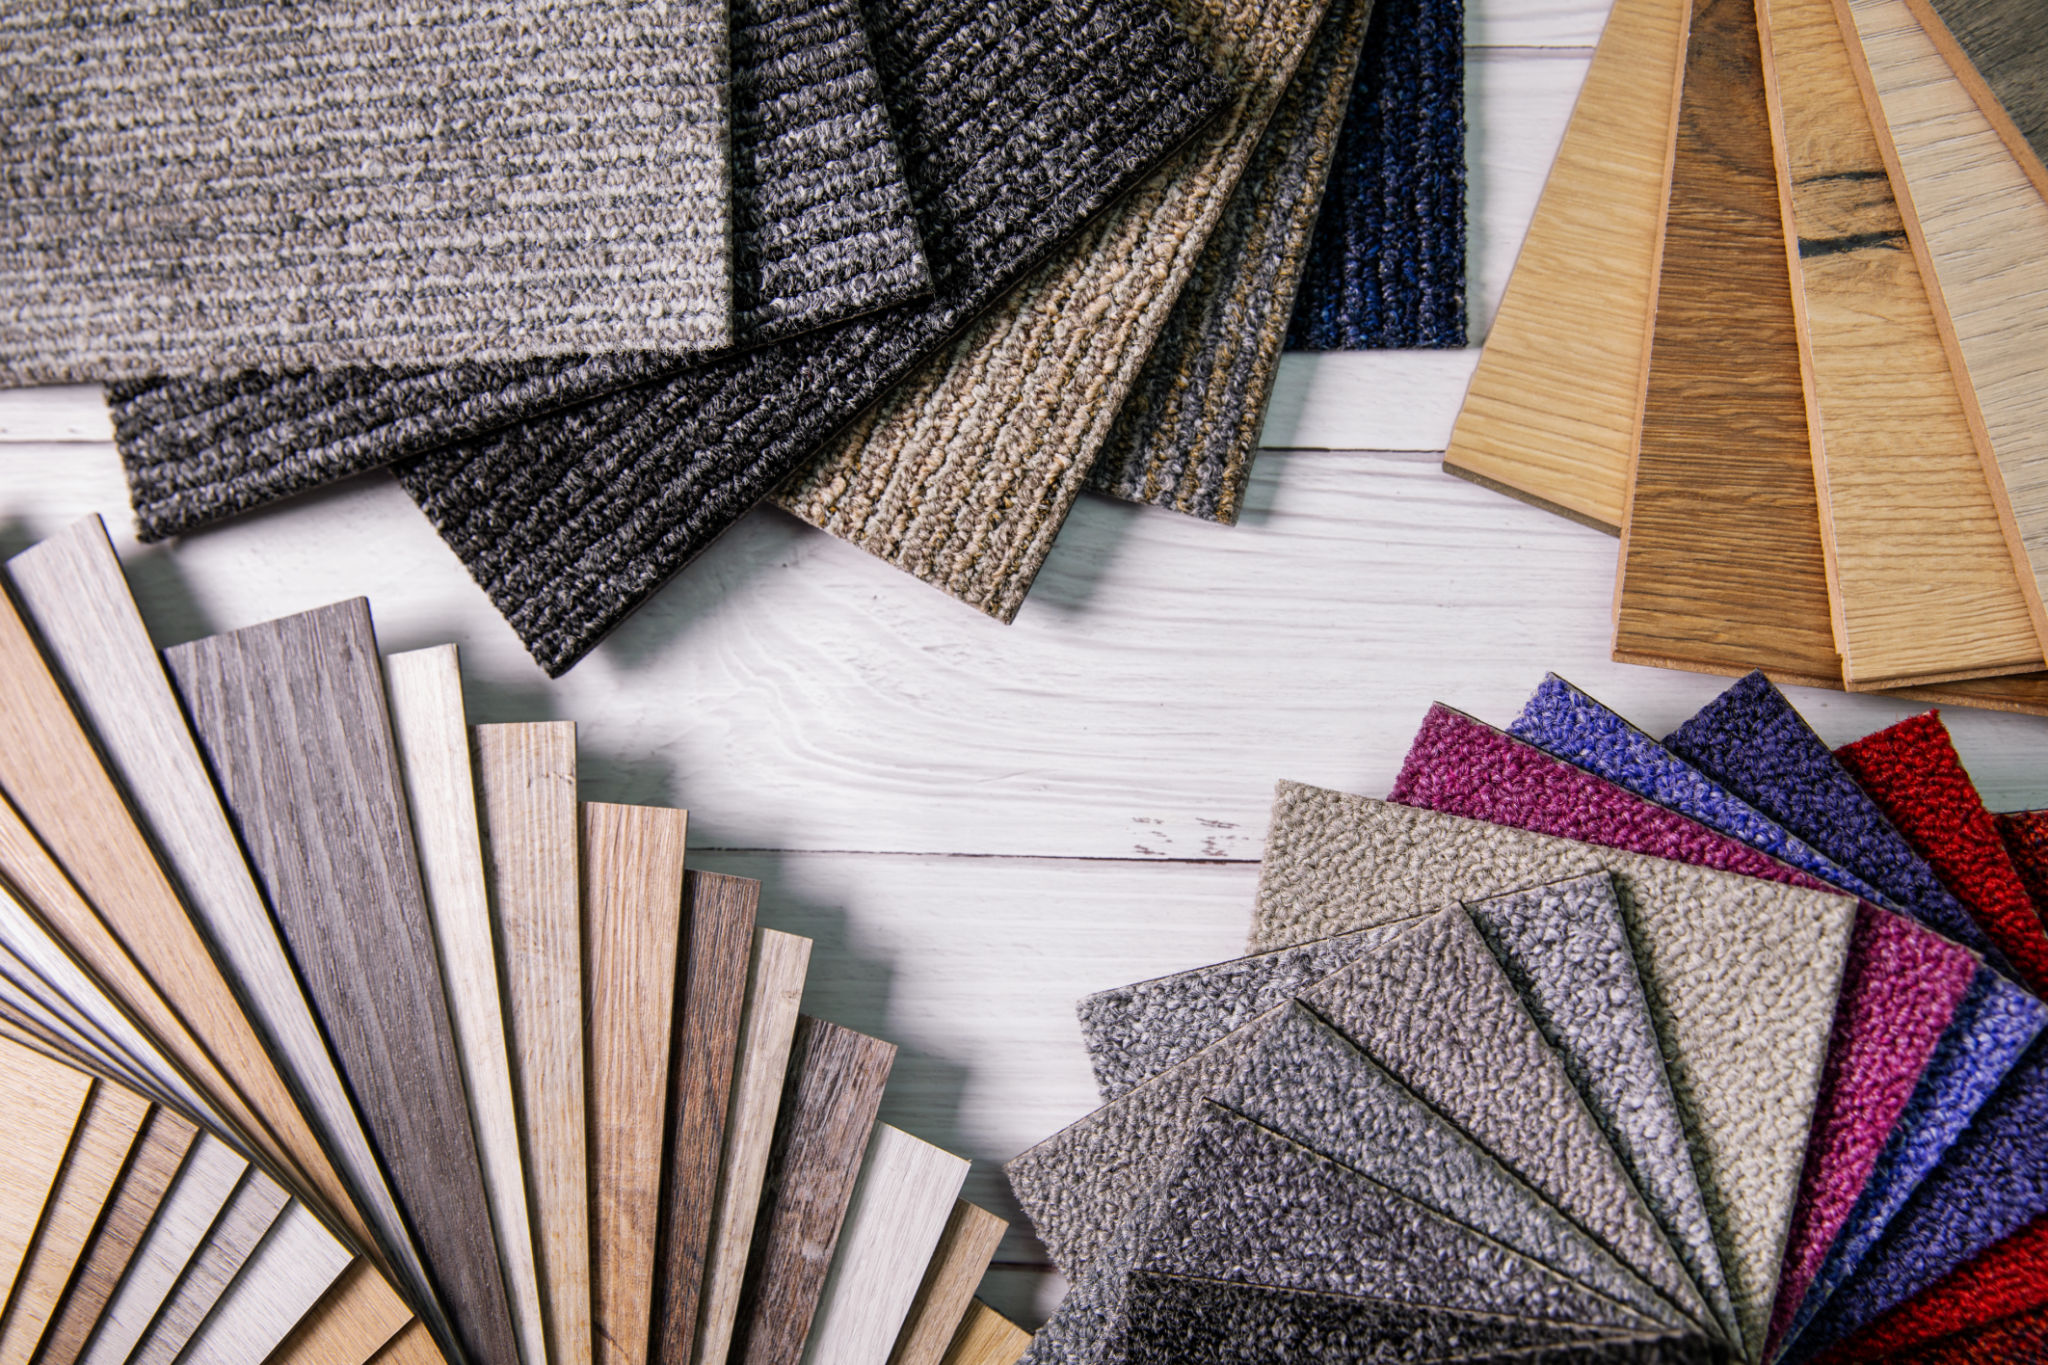
Choosing the Right Carpet
Selecting the right type of carpet for your garage is crucial. Look for durable, low-pile options that can withstand heavy foot traffic and potential exposure to moisture. Consider materials such as polypropylene or nylon, which are known for their durability and resistance to stains and water.
Step-by-Step Installation Guide
Once you have prepared your garage floor and selected your carpet, it's time to start the installation process. Follow these steps for a successful DIY project:
- Measure the Area: Take accurate measurements of your garage to determine how much carpet you will need. It's always a good idea to purchase a little extra to account for any mistakes or future repairs.
- Cut the Carpet: Use a sharp utility knife to cut the carpet to fit your garage dimensions. Remember to leave an extra inch on all sides for trimming.
- Lay Down Adhesive: Apply a suitable adhesive in sections using a notched trowel. Ensure even coverage for better adhesion.
- Lay the Carpet: Carefully lay the carpet over the adhesive, starting from one corner and smoothing it out to avoid bubbles or wrinkles.
- Trim Excess Material: Trim any excess carpet along the edges using a straightedge tool for clean lines.

Finishing Touches
To complete your garage carpet installation, install transition strips at the entry points to prevent tripping hazards. Consider adding baseboards around the perimeter for a polished look. Allow the adhesive to cure fully before moving any furniture or heavy equipment back into the garage.
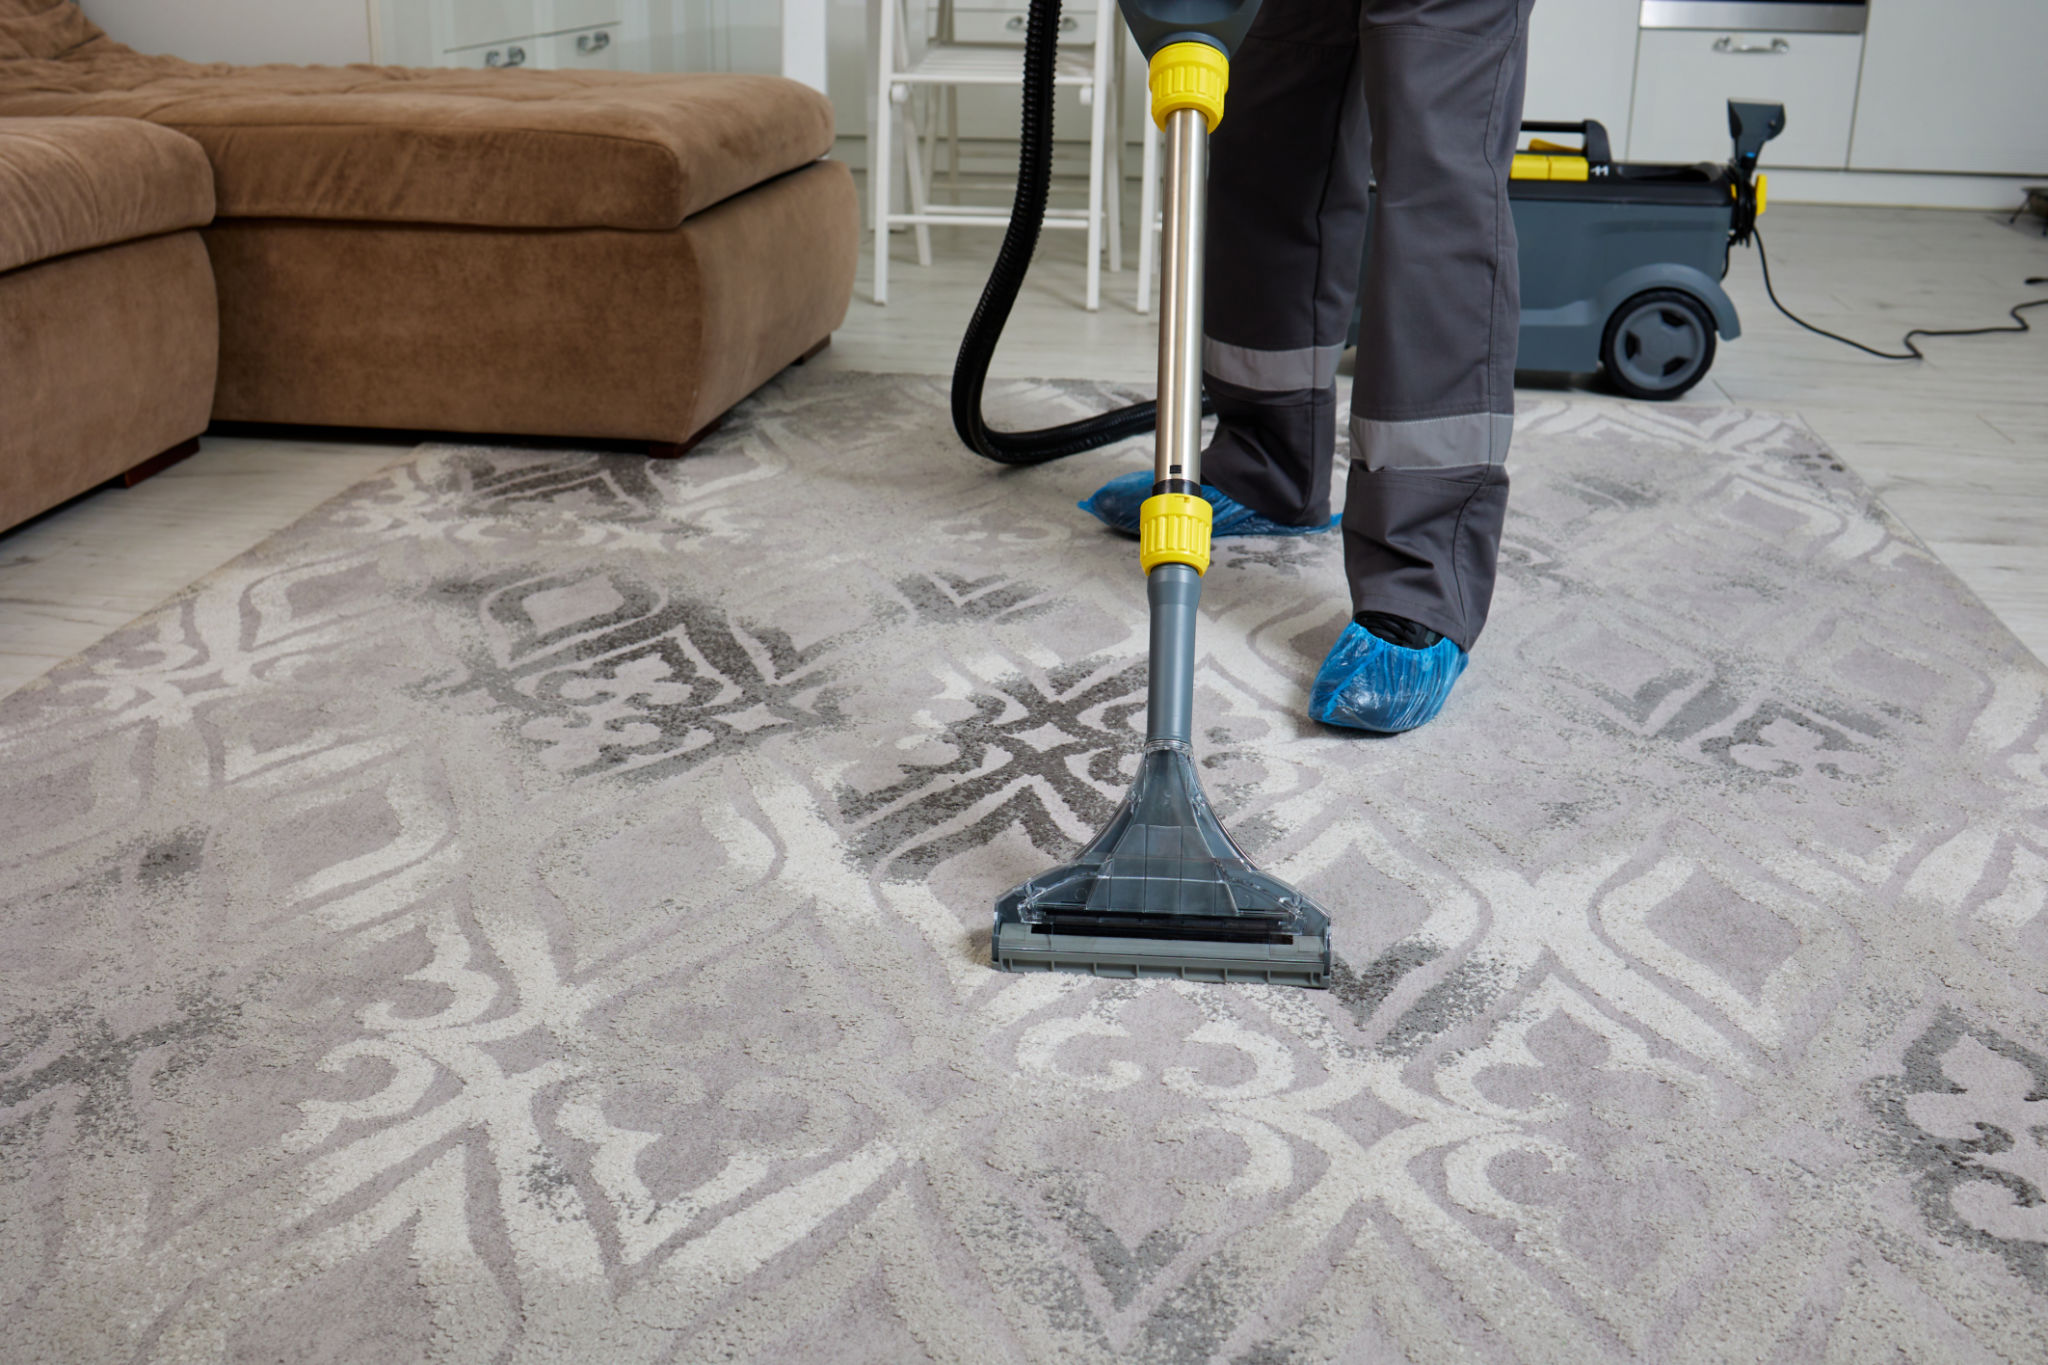
Maintenance Tips
Maintaining your new garage carpet is key to its longevity. Regular vacuuming will help keep dirt and debris at bay. For stains or spills, act quickly with suitable cleaning solutions to prevent permanent damage. Periodically check for any signs of wear and tear, especially around high-traffic areas, and address them promptly.
By following these tips and tricks, Auckland homeowners can successfully transform their garages with DIY carpet installation. Not only will you enhance the functionality of your space, but you'll also add warmth and style, creating a versatile area that meets your household's needs.