
How to Install Garage Carpet: A Step-by-Step DIY Guide


Introduction
Transforming your garage into a functional and stylish space can be as simple as installing a garage carpet. Whether you want to create a home gym, a workspace, or just a more comfortable environment, adding carpet can significantly enhance your garage's look and feel. This DIY guide will walk you through the process of installing garage carpet step by step.

Why Choose Garage Carpet?
Garage carpet is specifically designed to withstand heavy use and potential spills. It offers a durable, easy-to-clean surface that provides insulation and comfort underfoot. Unlike regular carpet, garage carpet is resistant to mold and mildew, making it ideal for spaces that may encounter moisture.
Materials and Tools You'll Need
Before you begin, gather the necessary materials and tools. Here's a checklist to ensure you have everything ready:
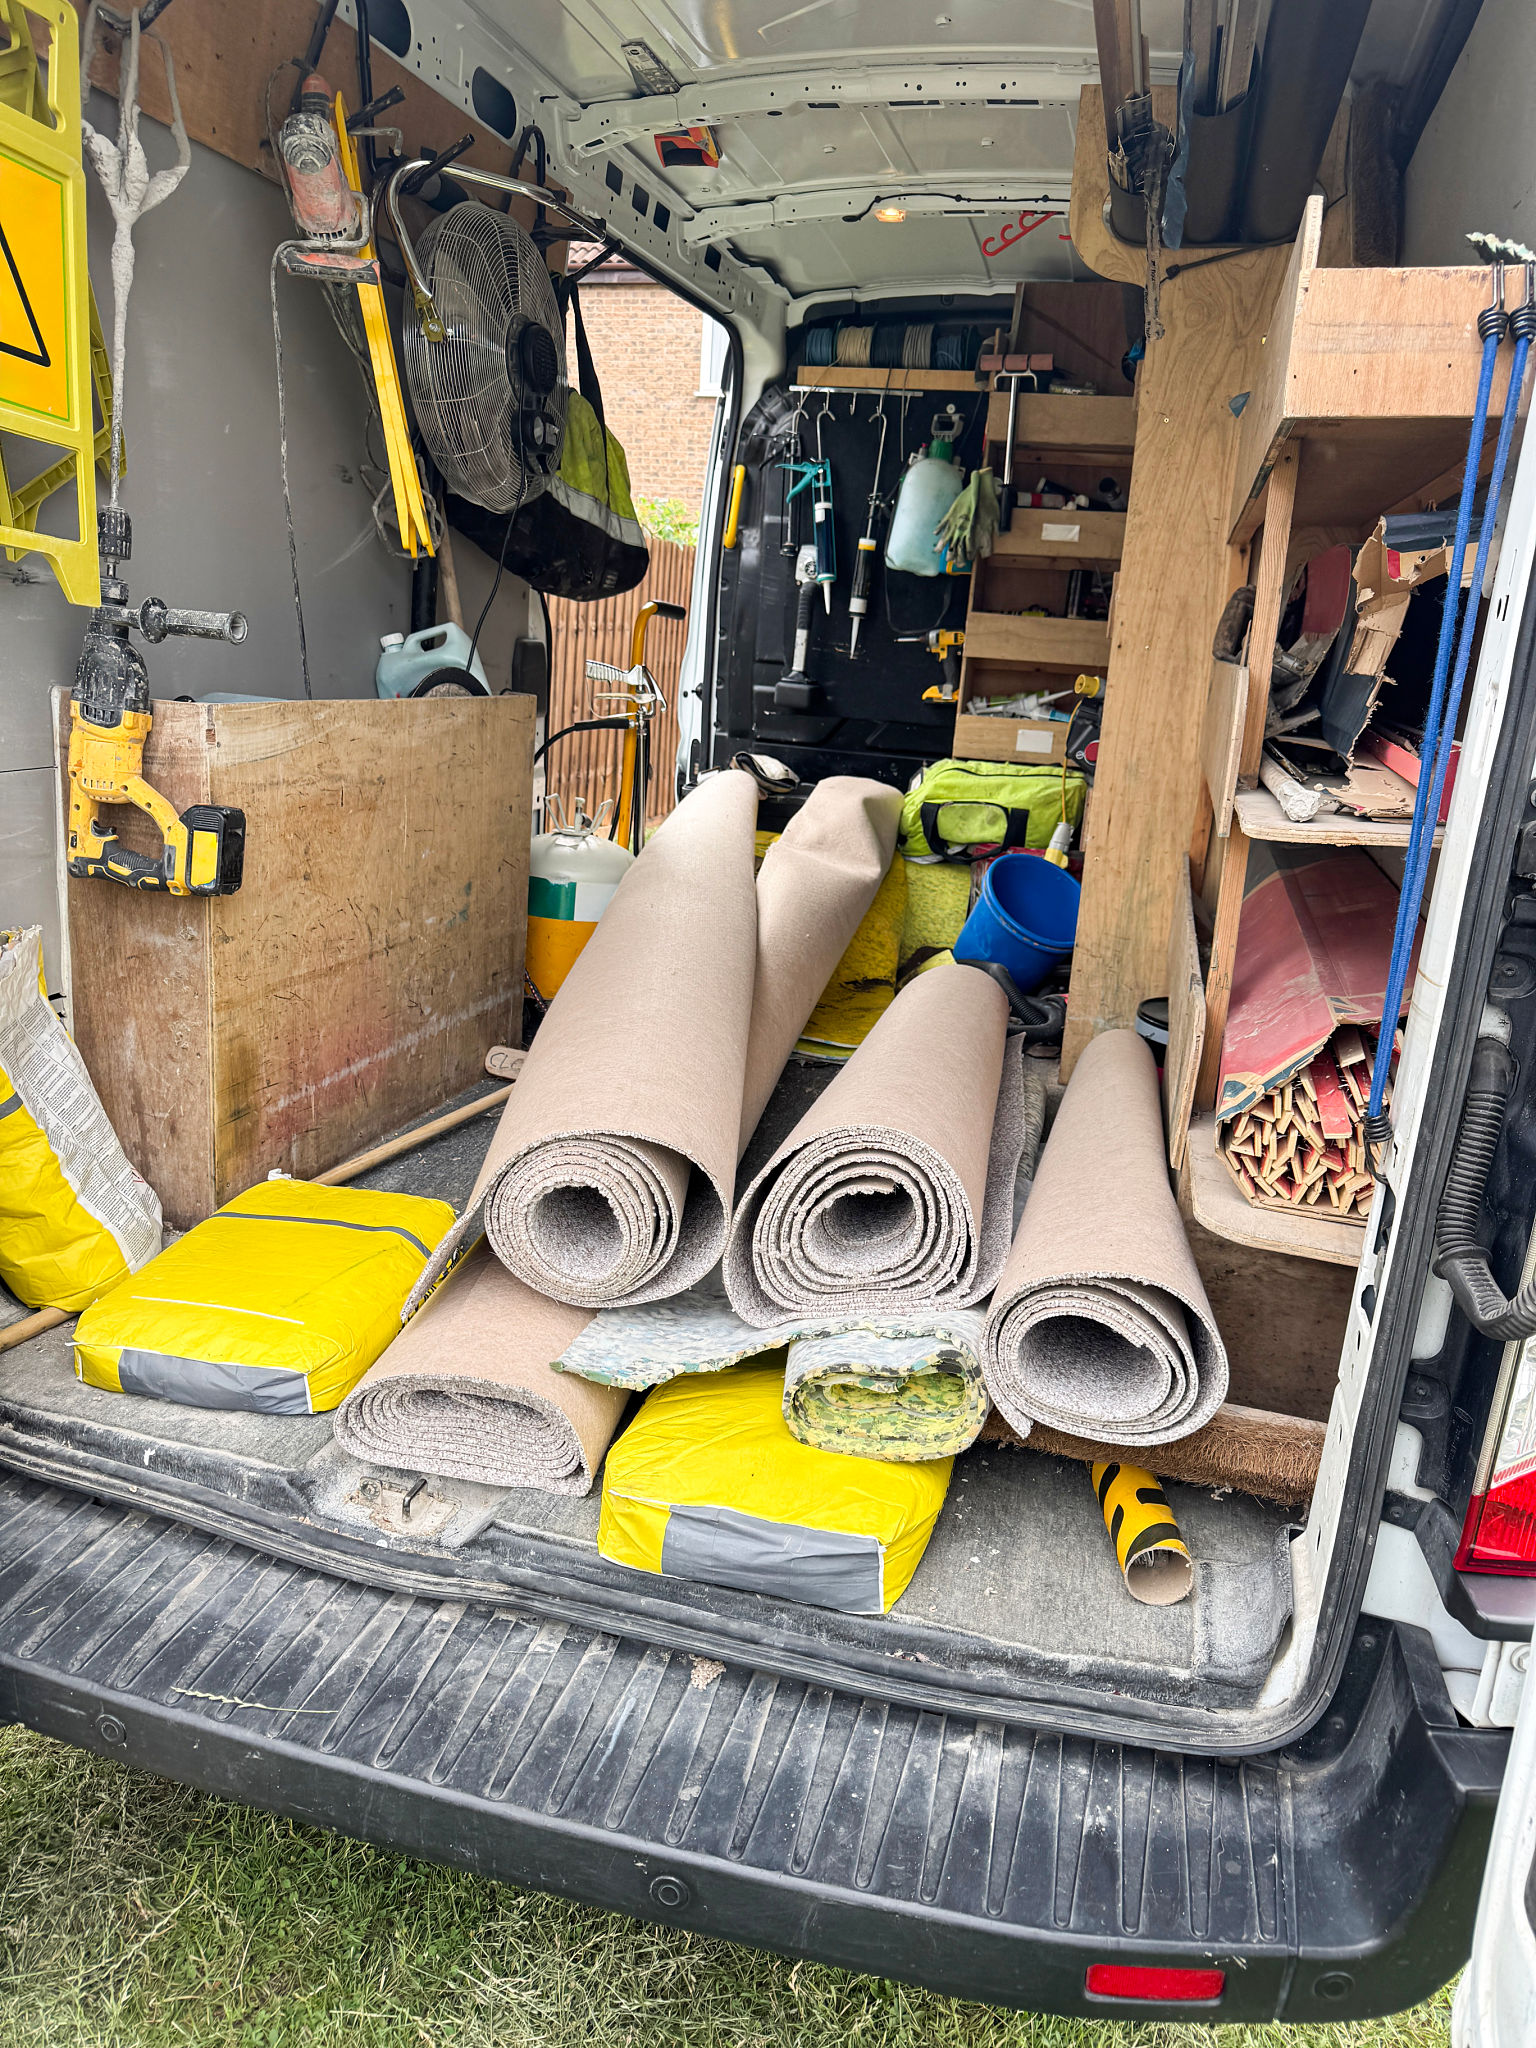
- Garage carpet rolls
- Utility knife
- Measuring tape
- Carpet adhesive or double-sided tape
- Knee pads for comfort
- Carpet roller or heavy object for smoothing
Preparing the Garage Floor
Preparation is key to a successful installation. Start by cleaning the garage floor thoroughly. Sweep away any dirt, dust, or debris, and allow the floor to dry completely. If there are any cracks or holes, fill them in to create a smooth surface.
Next, measure the area where the carpet will be installed. Use a measuring tape to get accurate dimensions, and consider any obstacles like cabinets or equipment. Cut the carpet to fit the space, leaving a slight overhang to ensure a perfect fit.
Installing the Carpet
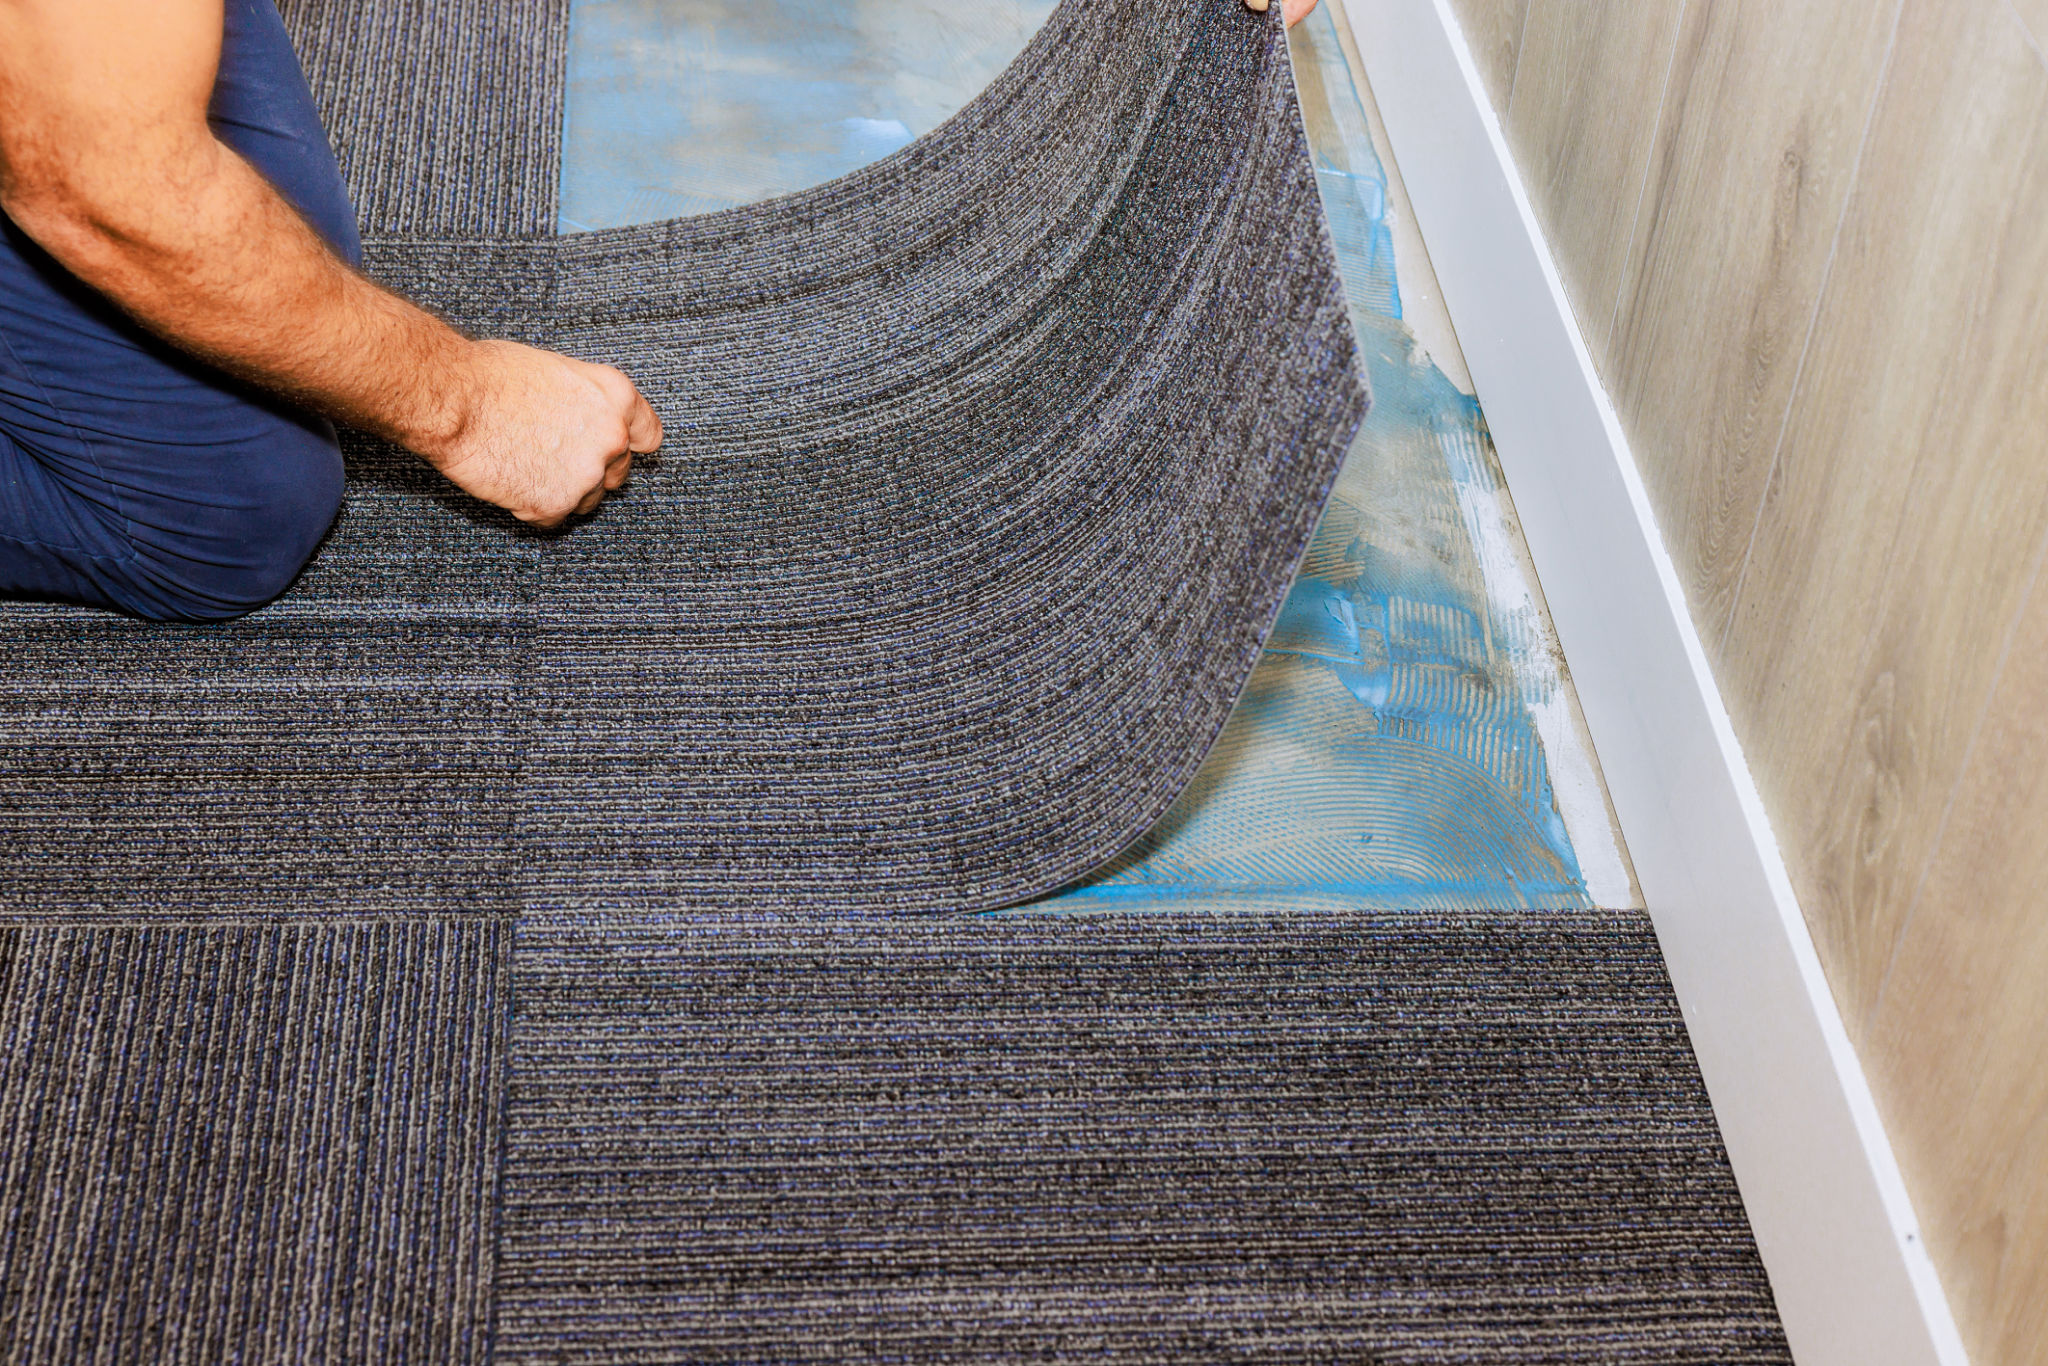
Once the floor is ready and the carpet is cut to size, it's time to install. Begin by applying carpet adhesive or laying down double-sided tape along the edges and center of the floor. Carefully unroll the carpet onto the adhesive, starting from one end and smoothing it out as you go.
Use a carpet roller or a heavy object to press the carpet down, ensuring a firm bond with the adhesive. Pay special attention to corners and edges, applying extra pressure to prevent lifting.
Finishing Touches
With the carpet securely in place, trim any excess material along the edges with a utility knife. Ensure all seams are tightly joined and make any necessary adjustments. If the carpet has patterns, align them neatly for a professional finish.
Allow the adhesive to set for the recommended time before moving any furniture or equipment back into the garage. This will ensure the carpet remains secure and flat.
Maintenance Tips
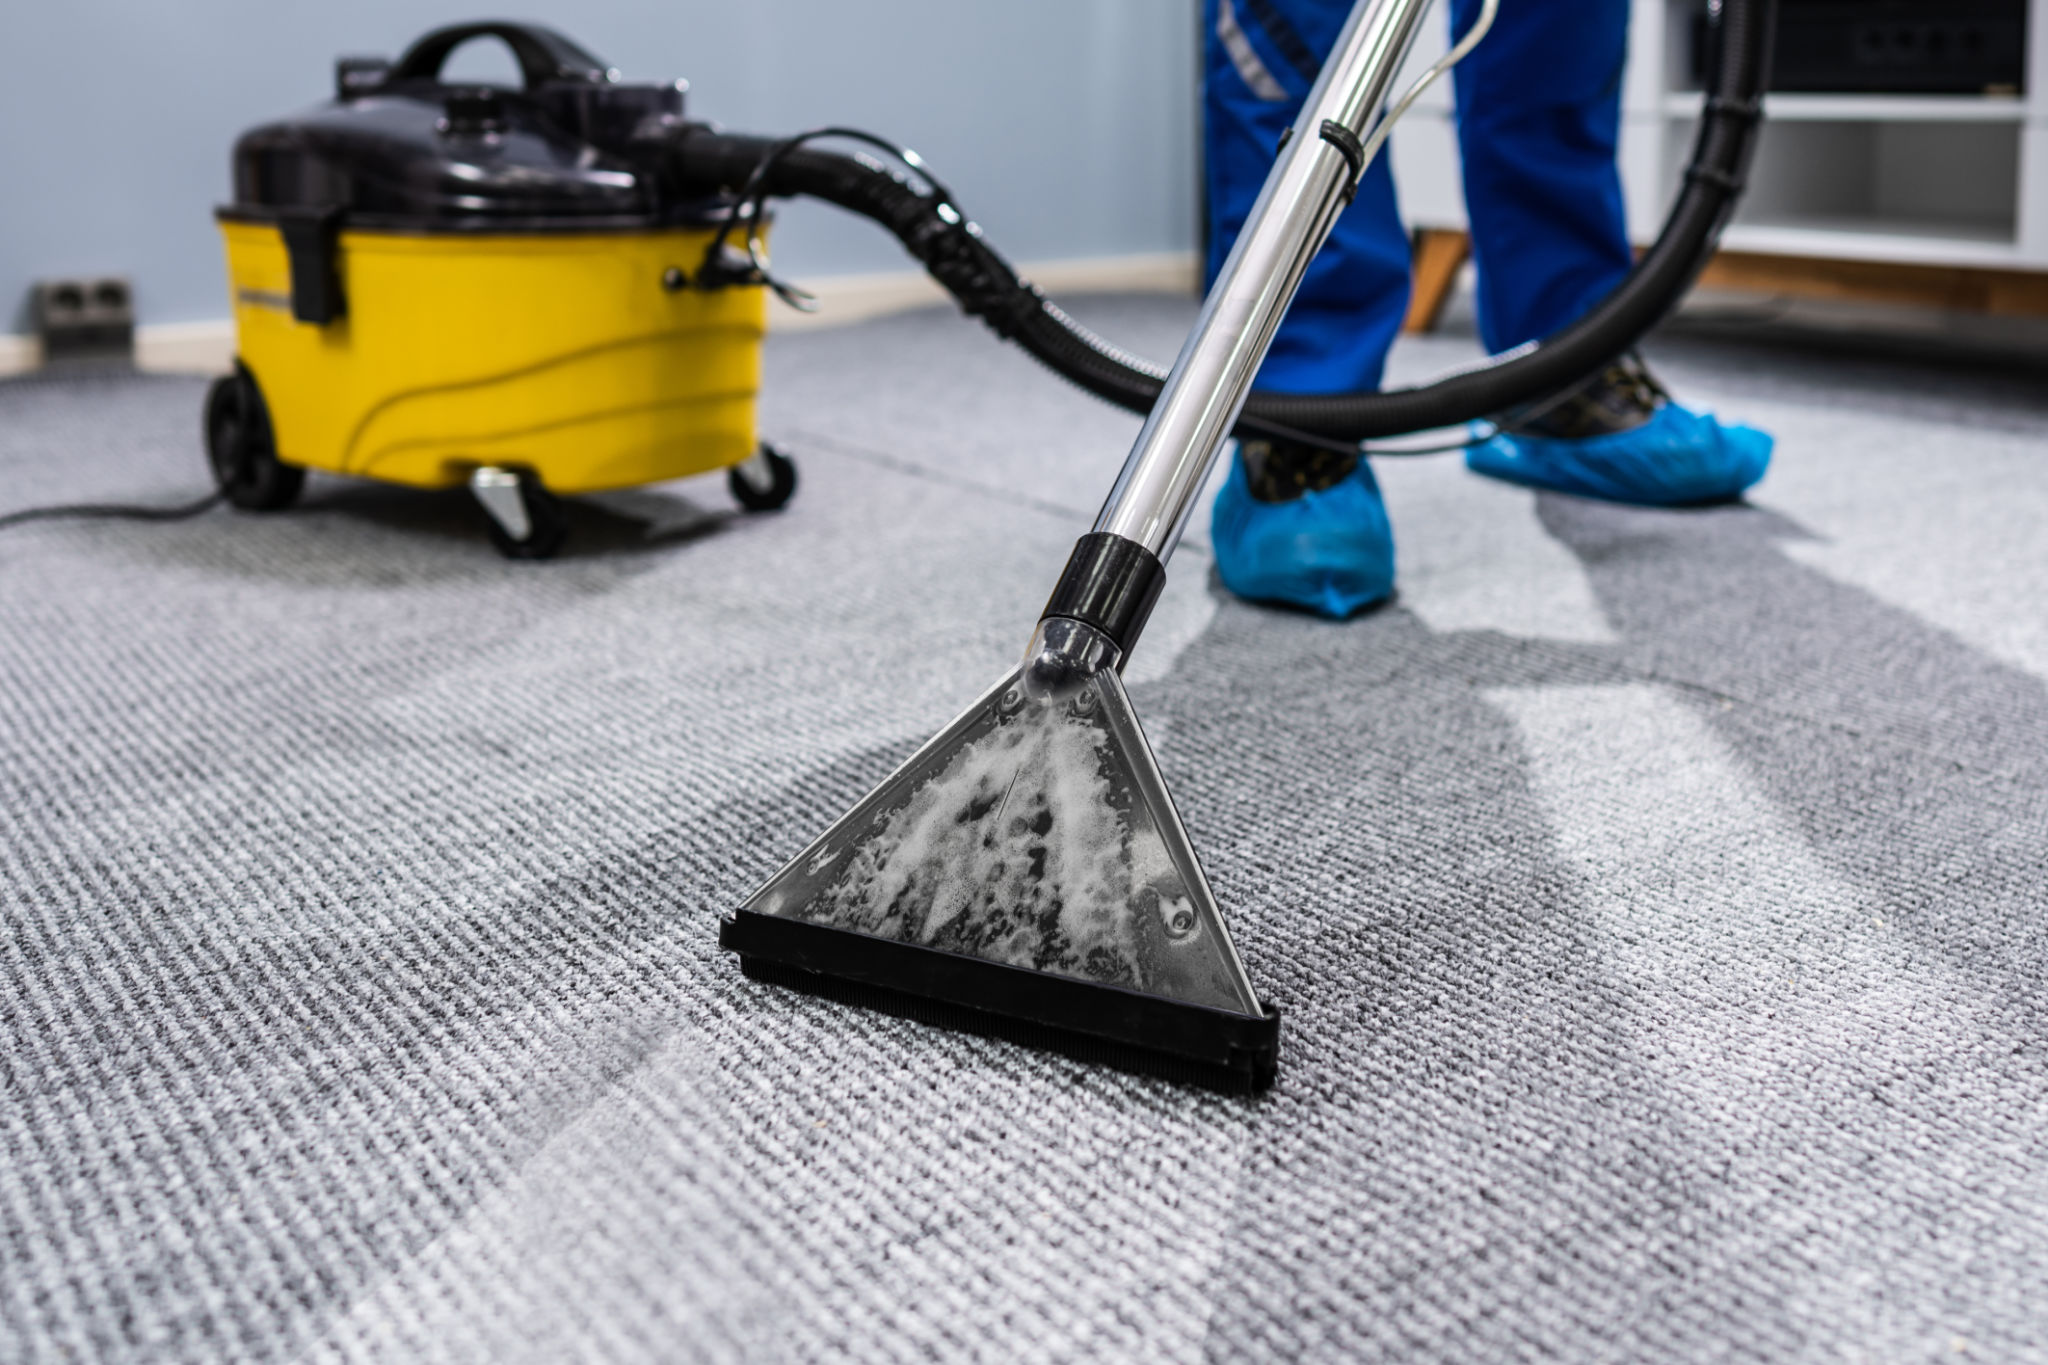
To keep your garage carpet looking its best, regular maintenance is essential. Vacuum the carpet regularly to remove dust and debris. For spills or stains, clean promptly with a mild detergent and water. Avoid using harsh chemicals that may damage the carpet fibers.
Conclusion
Installing garage carpet is a straightforward DIY project that can dramatically enhance the functionality and appearance of your garage. By following these steps, you'll create a comfortable, durable surface that stands up to daily wear and tear. Enjoy your newly transformed space!